
WordPress plugin + free API key
Install the plugin, connect your key, and let visitors listen.
ResponsiveVoice gives WordPress visitors a Listen button and full-page WebPlayer without custom development. Start on one site with a free key, then upgrade when you need a branded player, more sites, reports, or provider choice.
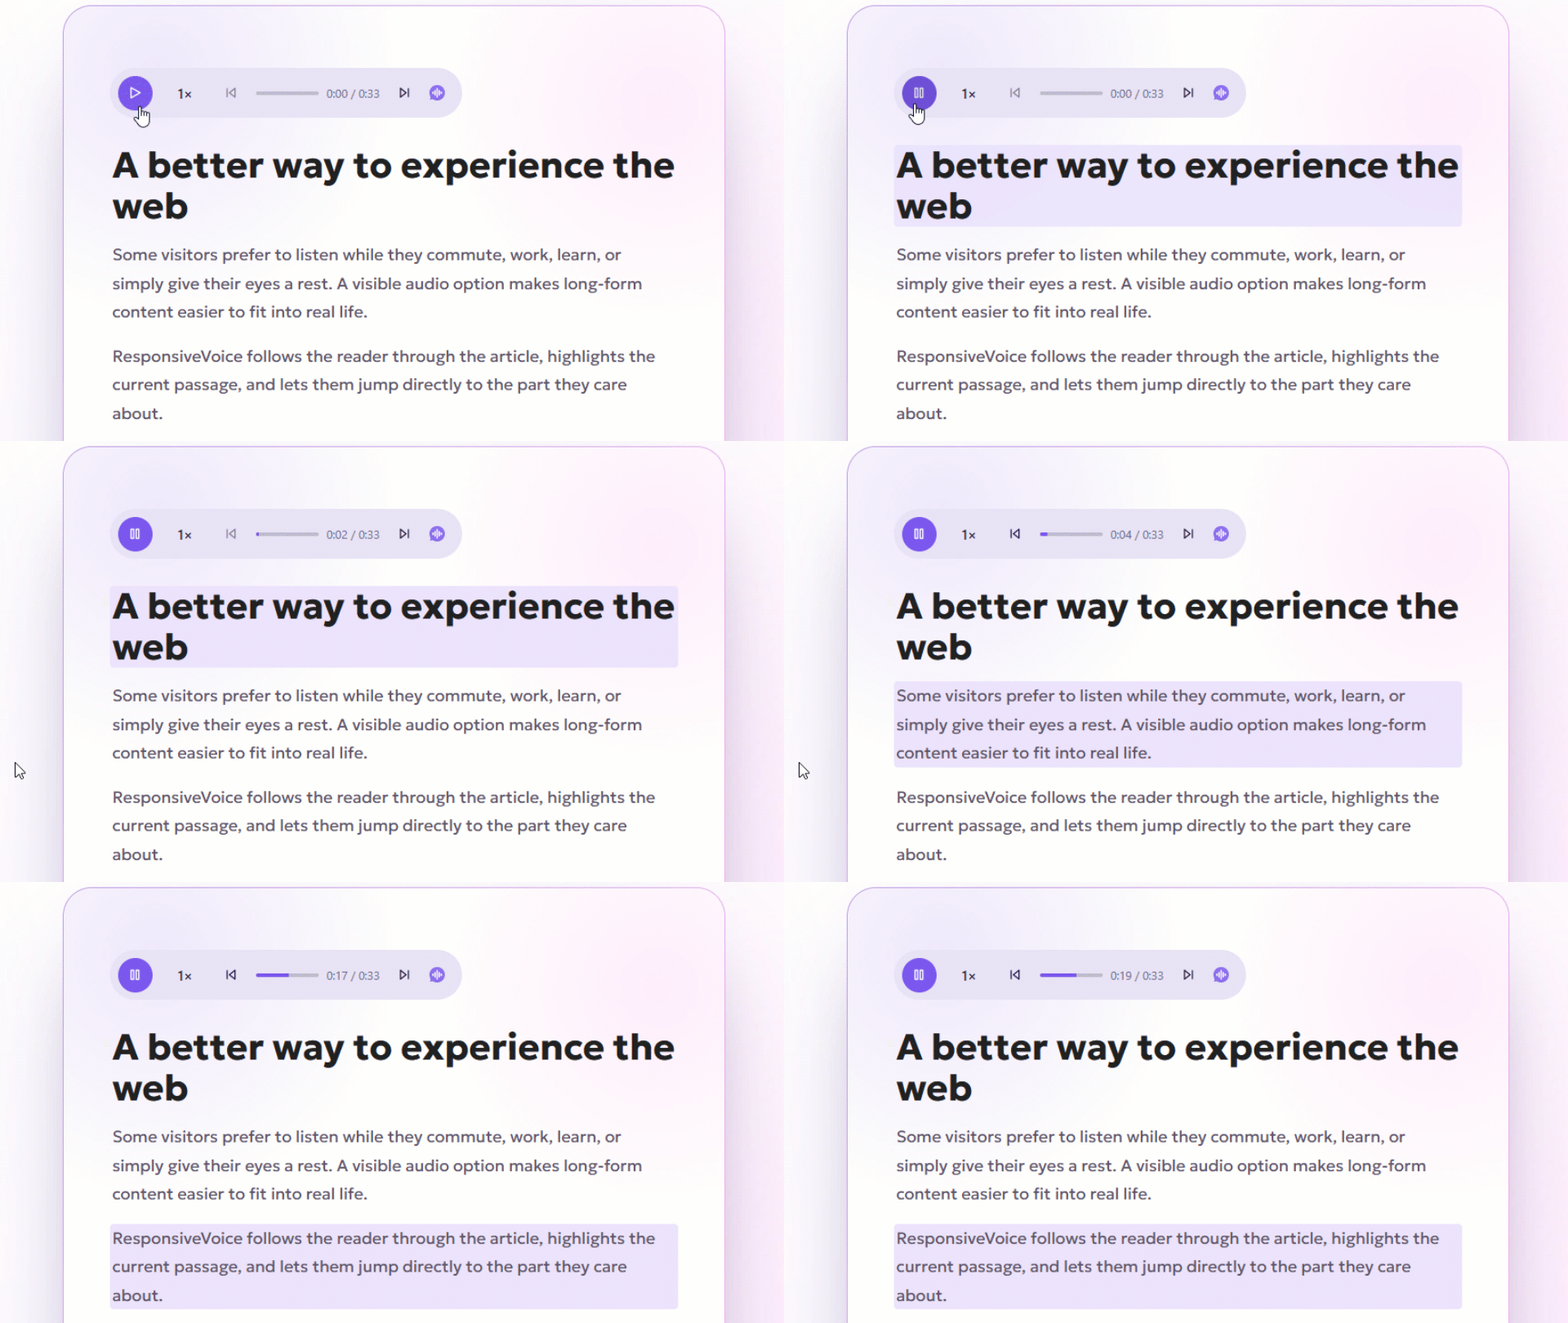
From plugin install to first spoken page
Get speech working first. Install the plugin, add your free ResponsiveVoice key, and put a Listen button or WebPlayer on live content in minutes.
1
Install the plugin
Install ResponsiveVoice Text To Speech from WordPress.org, then add a Listen button block or keep using classic shortcodes.
2
Create a free key
Create a free ResponsiveVoice account and copy your website API key. The free plan includes 1 Million characters/month for one verified site.
3
Paste the key and publish
Add the key in the ResponsiveVoice WordPress menu, choose your voice/player settings, and let visitors listen to posts and pages.
Why WordPress sites use ResponsiveVoice
Use ResponsiveVoice when listening should be part of the page experience, not a buried accessibility extra.
- Gutenberg Listen Button block for quick page and post playback
- Classic shortcodes for existing posts, templates, and older editor workflows
- 51 languages and 158 default voices out of the box
- WebPlayer for full-article listening, highlighting, and per-post overrides
- Free commercial use on one verified WordPress site
- Usage accounting across plugin, WebPlayer, JS, and API speech
- Branding removal and player customization on Starter
- Multi-site, reports, priority support, and BYOK/provider choice on Pro
Set up speech inside WordPress
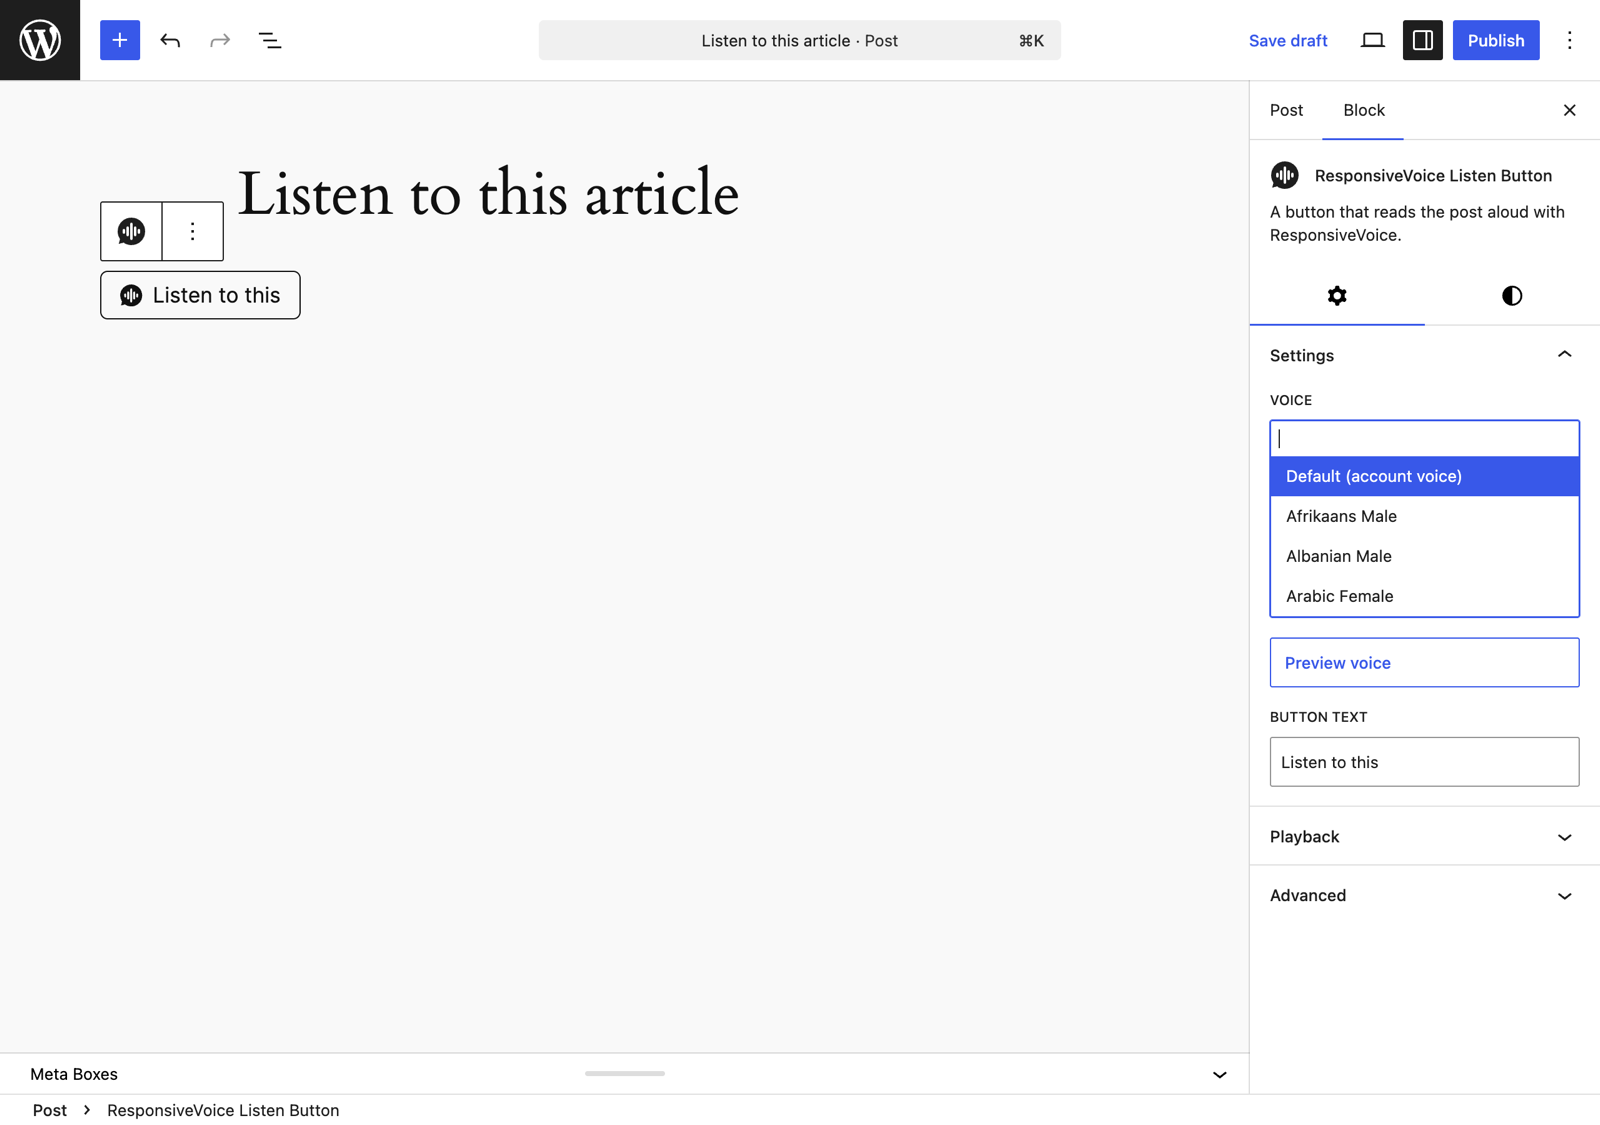
Install from WordPress
- Go to Plugins > Add New and search for “ResponsiveVoice Text To Speech”.
- Click Install Now, then Activate.
- Add a ResponsiveVoice Listen Button block, or use a shortcode such as
[responsivevoice_button]. - Create a free ResponsiveVoice account, then paste your website API key in the ResponsiveVoice WordPress menu.
Use the WebPlayer from WordPress
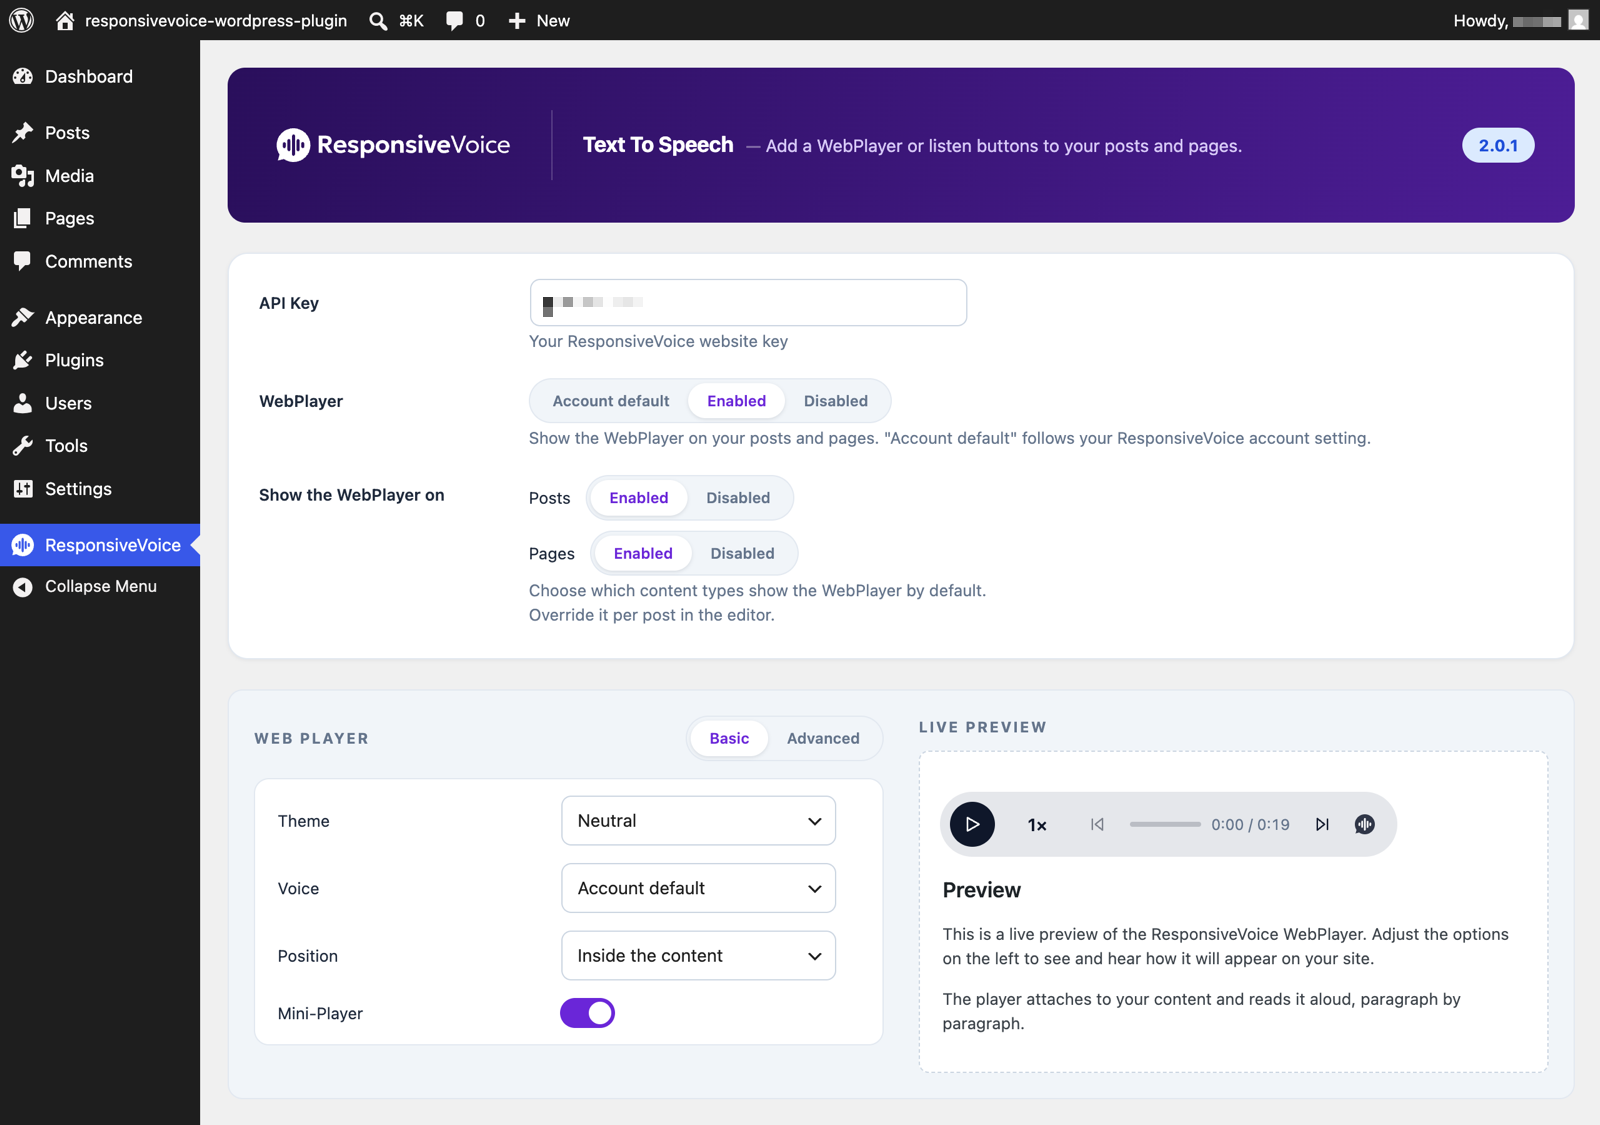
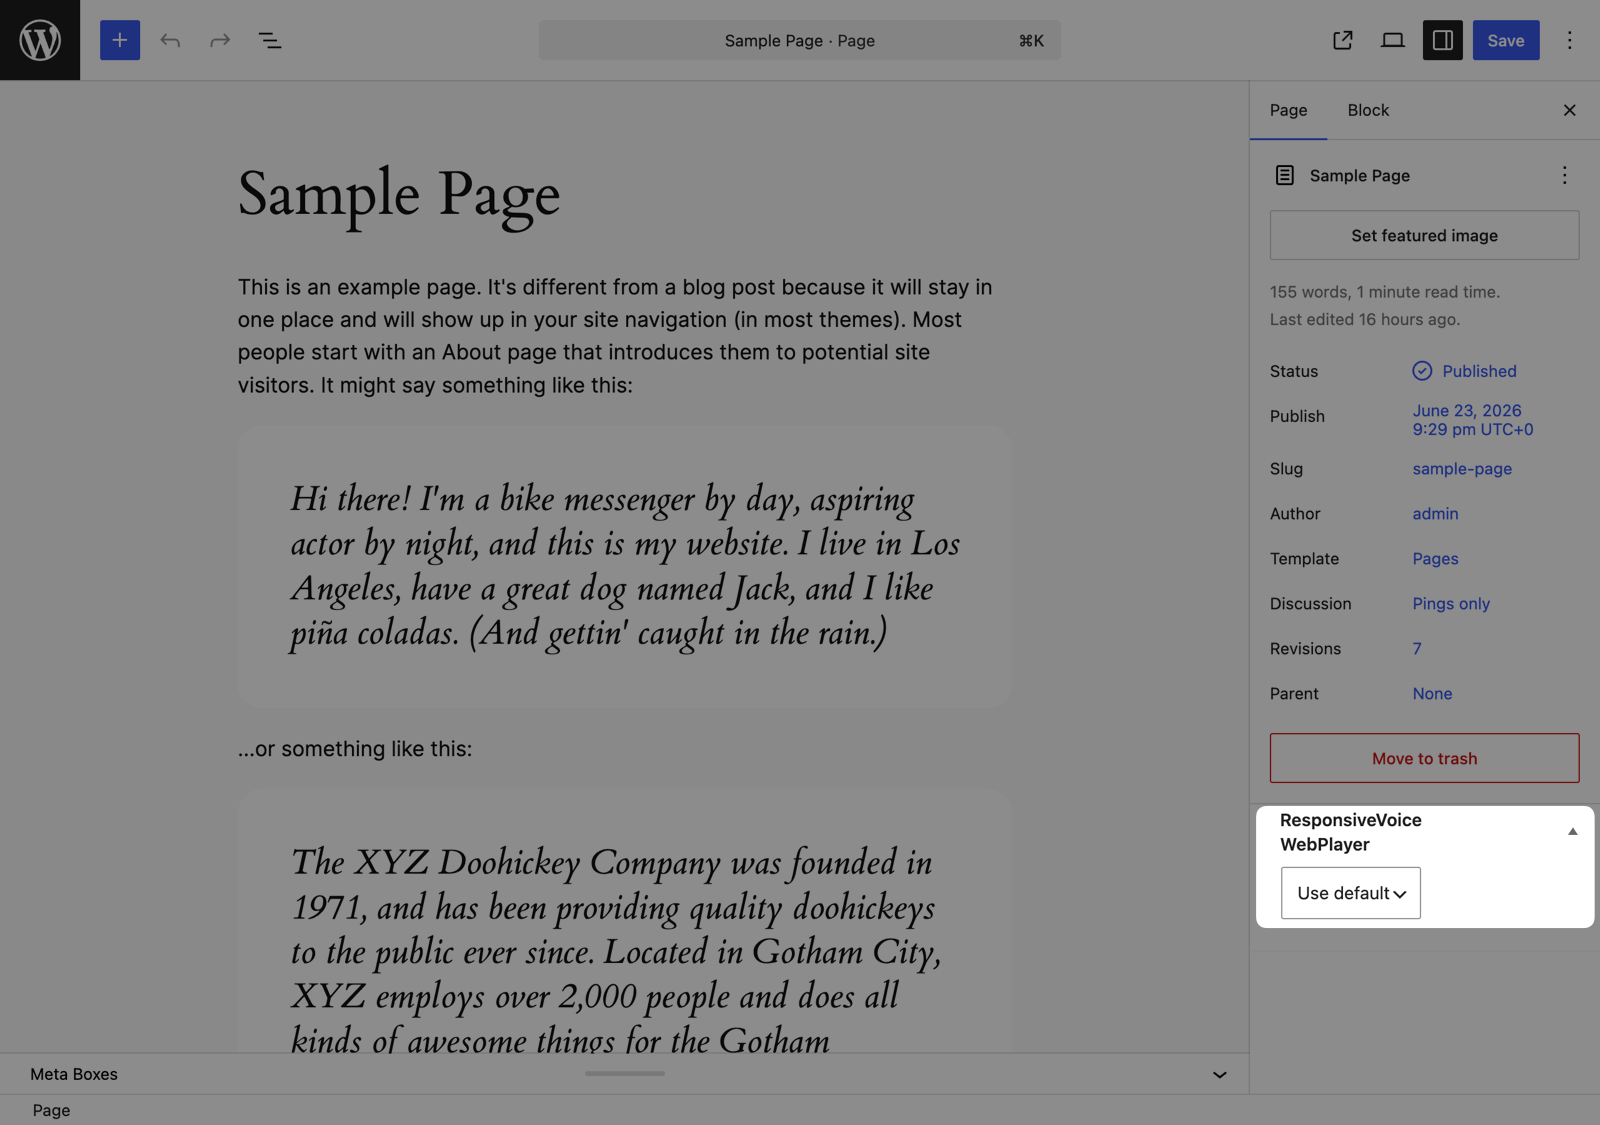
The free plan includes the WebPlayer with ResponsiveVoice branding. Starter removes the branding and adds player customization. Pro is for teams running speech across multiple WordPress sites with reporting, priority support, and provider choice.
Start free, upgrade when WordPress grows
Start free on one WordPress site. Upgrade when the listening experience needs to match your brand, support more sites, show usage by site, or run on your chosen voice provider.
Free
$0
- 1 Million characters/month
- One verified website
- Commercial use with ResponsiveVoice branding
Starter
$9/month
- Remove ResponsiveVoice branding
- Customize player controls
- Built for one polished WordPress site
Pro
$49/month
- 10 websites
- Usage reports by site
- Priority support and BYOK/provider choice
Help and FAQ
For setup questions and common troubleshooting steps, start with the ResponsiveVoice FAQ. If you still need help, send the team a support ticket with your WordPress site URL and the shortcode or WebPlayer setting you are using.
Shortcode examples
Add a Listen button anywhere in a post or page:
[responsivevoice_button]Set the voice and button label:
[responsivevoice_button voice="US English Female" buttontext="Play"]Read a specific section:
[responsivevoice]Text you want ResponsiveVoice to read[/responsivevoice]Start with the free WordPress text-to-speech plugin
Install the plugin, connect your ResponsiveVoice key, and let visitors listen. Keep the free plan while you prove it; upgrade when the player becomes part of your customer experience.

